AORUS 101: How-To Install Your Motherboard
Before installing your motherboard into your case, here are some tips and tricks to make the building process as smooth, clean, and seamless building experience.
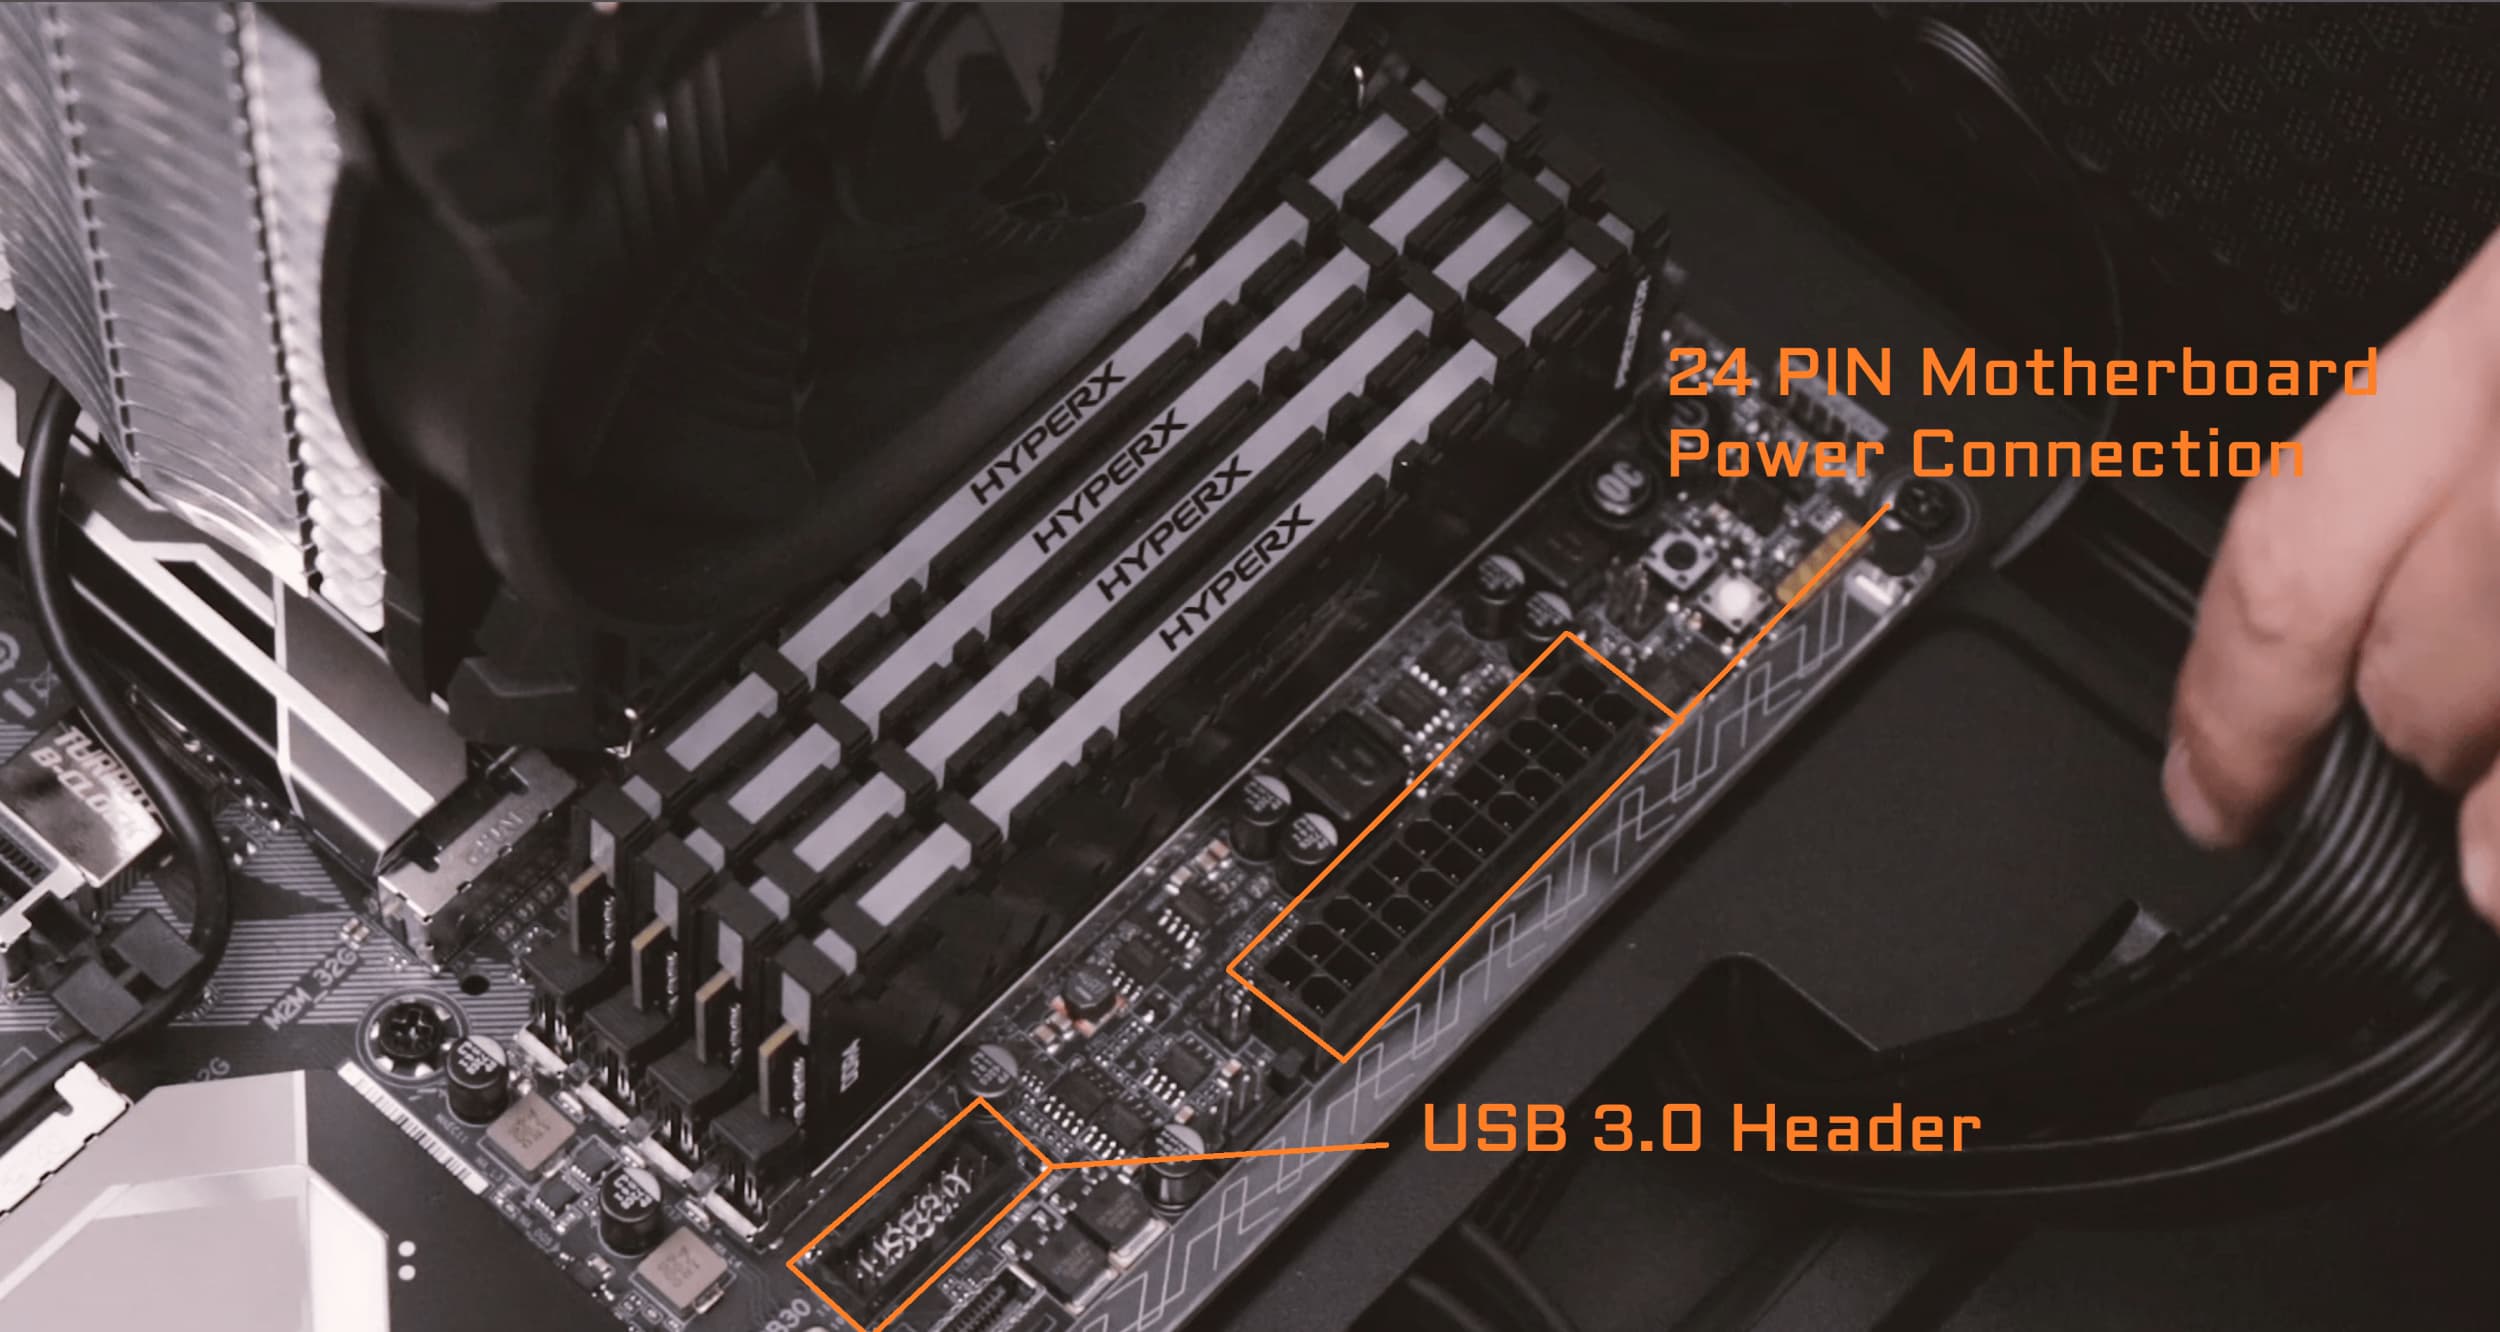
First we would recommend becoming familiar with your motherboard layout. This is an important step as this can help your system look clean through efficient and tidy cable management.
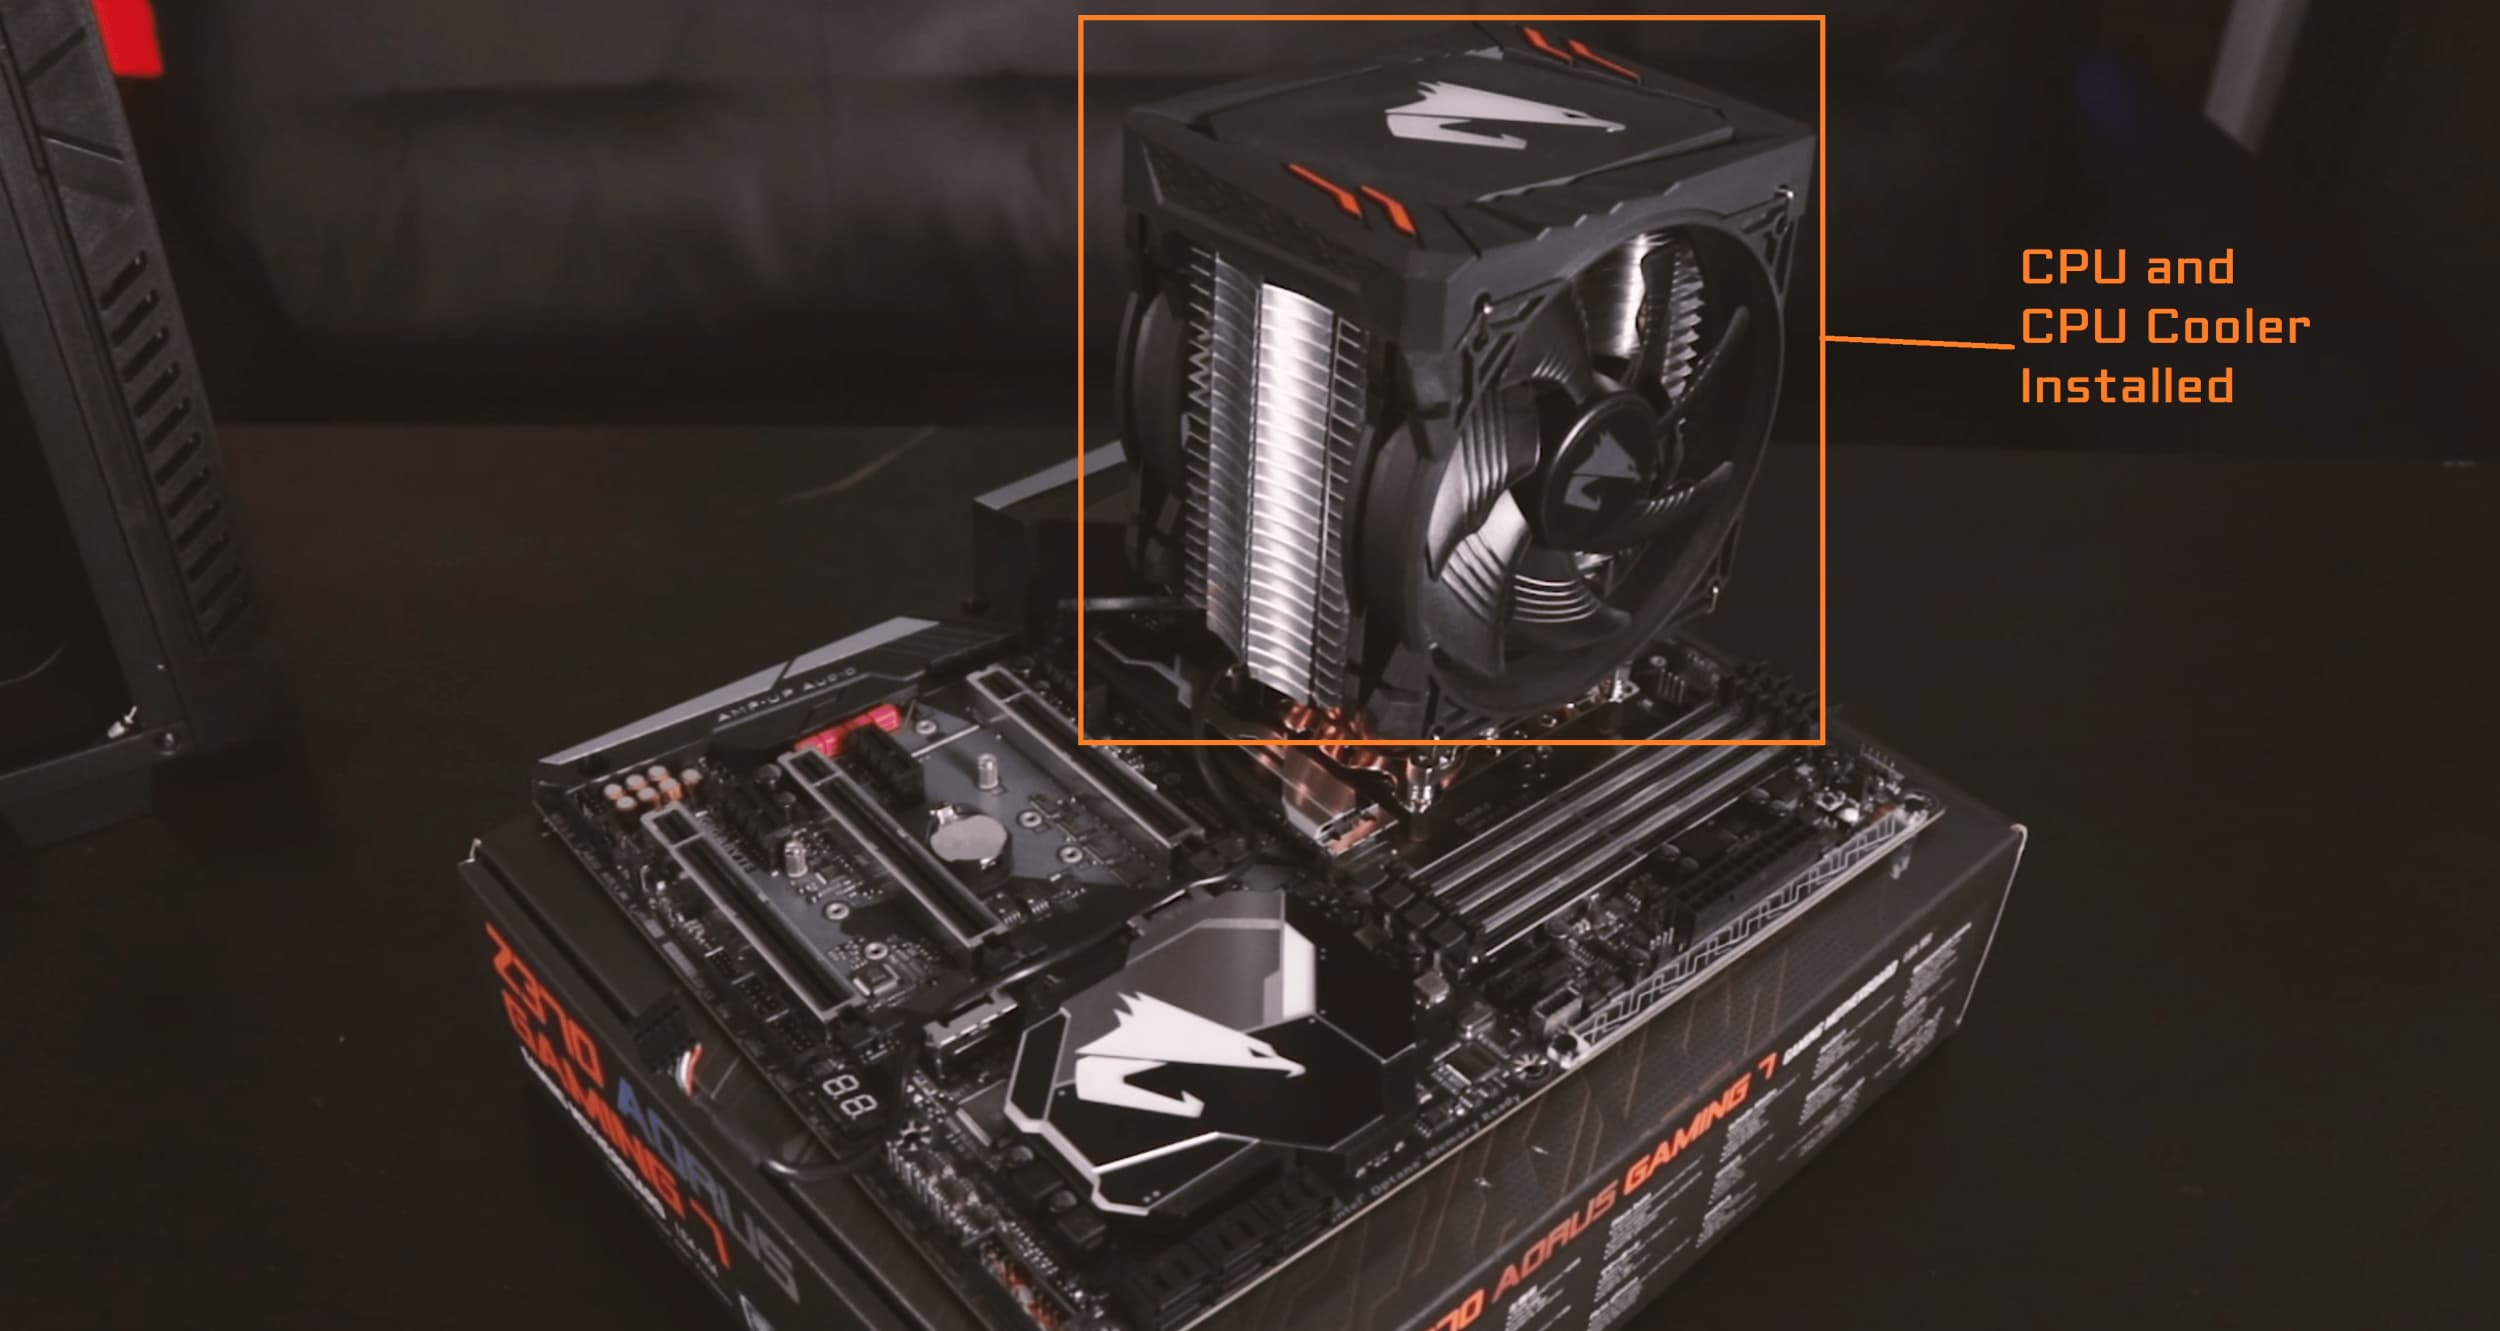
Next we would recommend installing your CPU and CPU Cooler onto your motherboard. If you are unsure of how to install your CPU and CPU Cooler, worry not we will have another blog covering the installation.
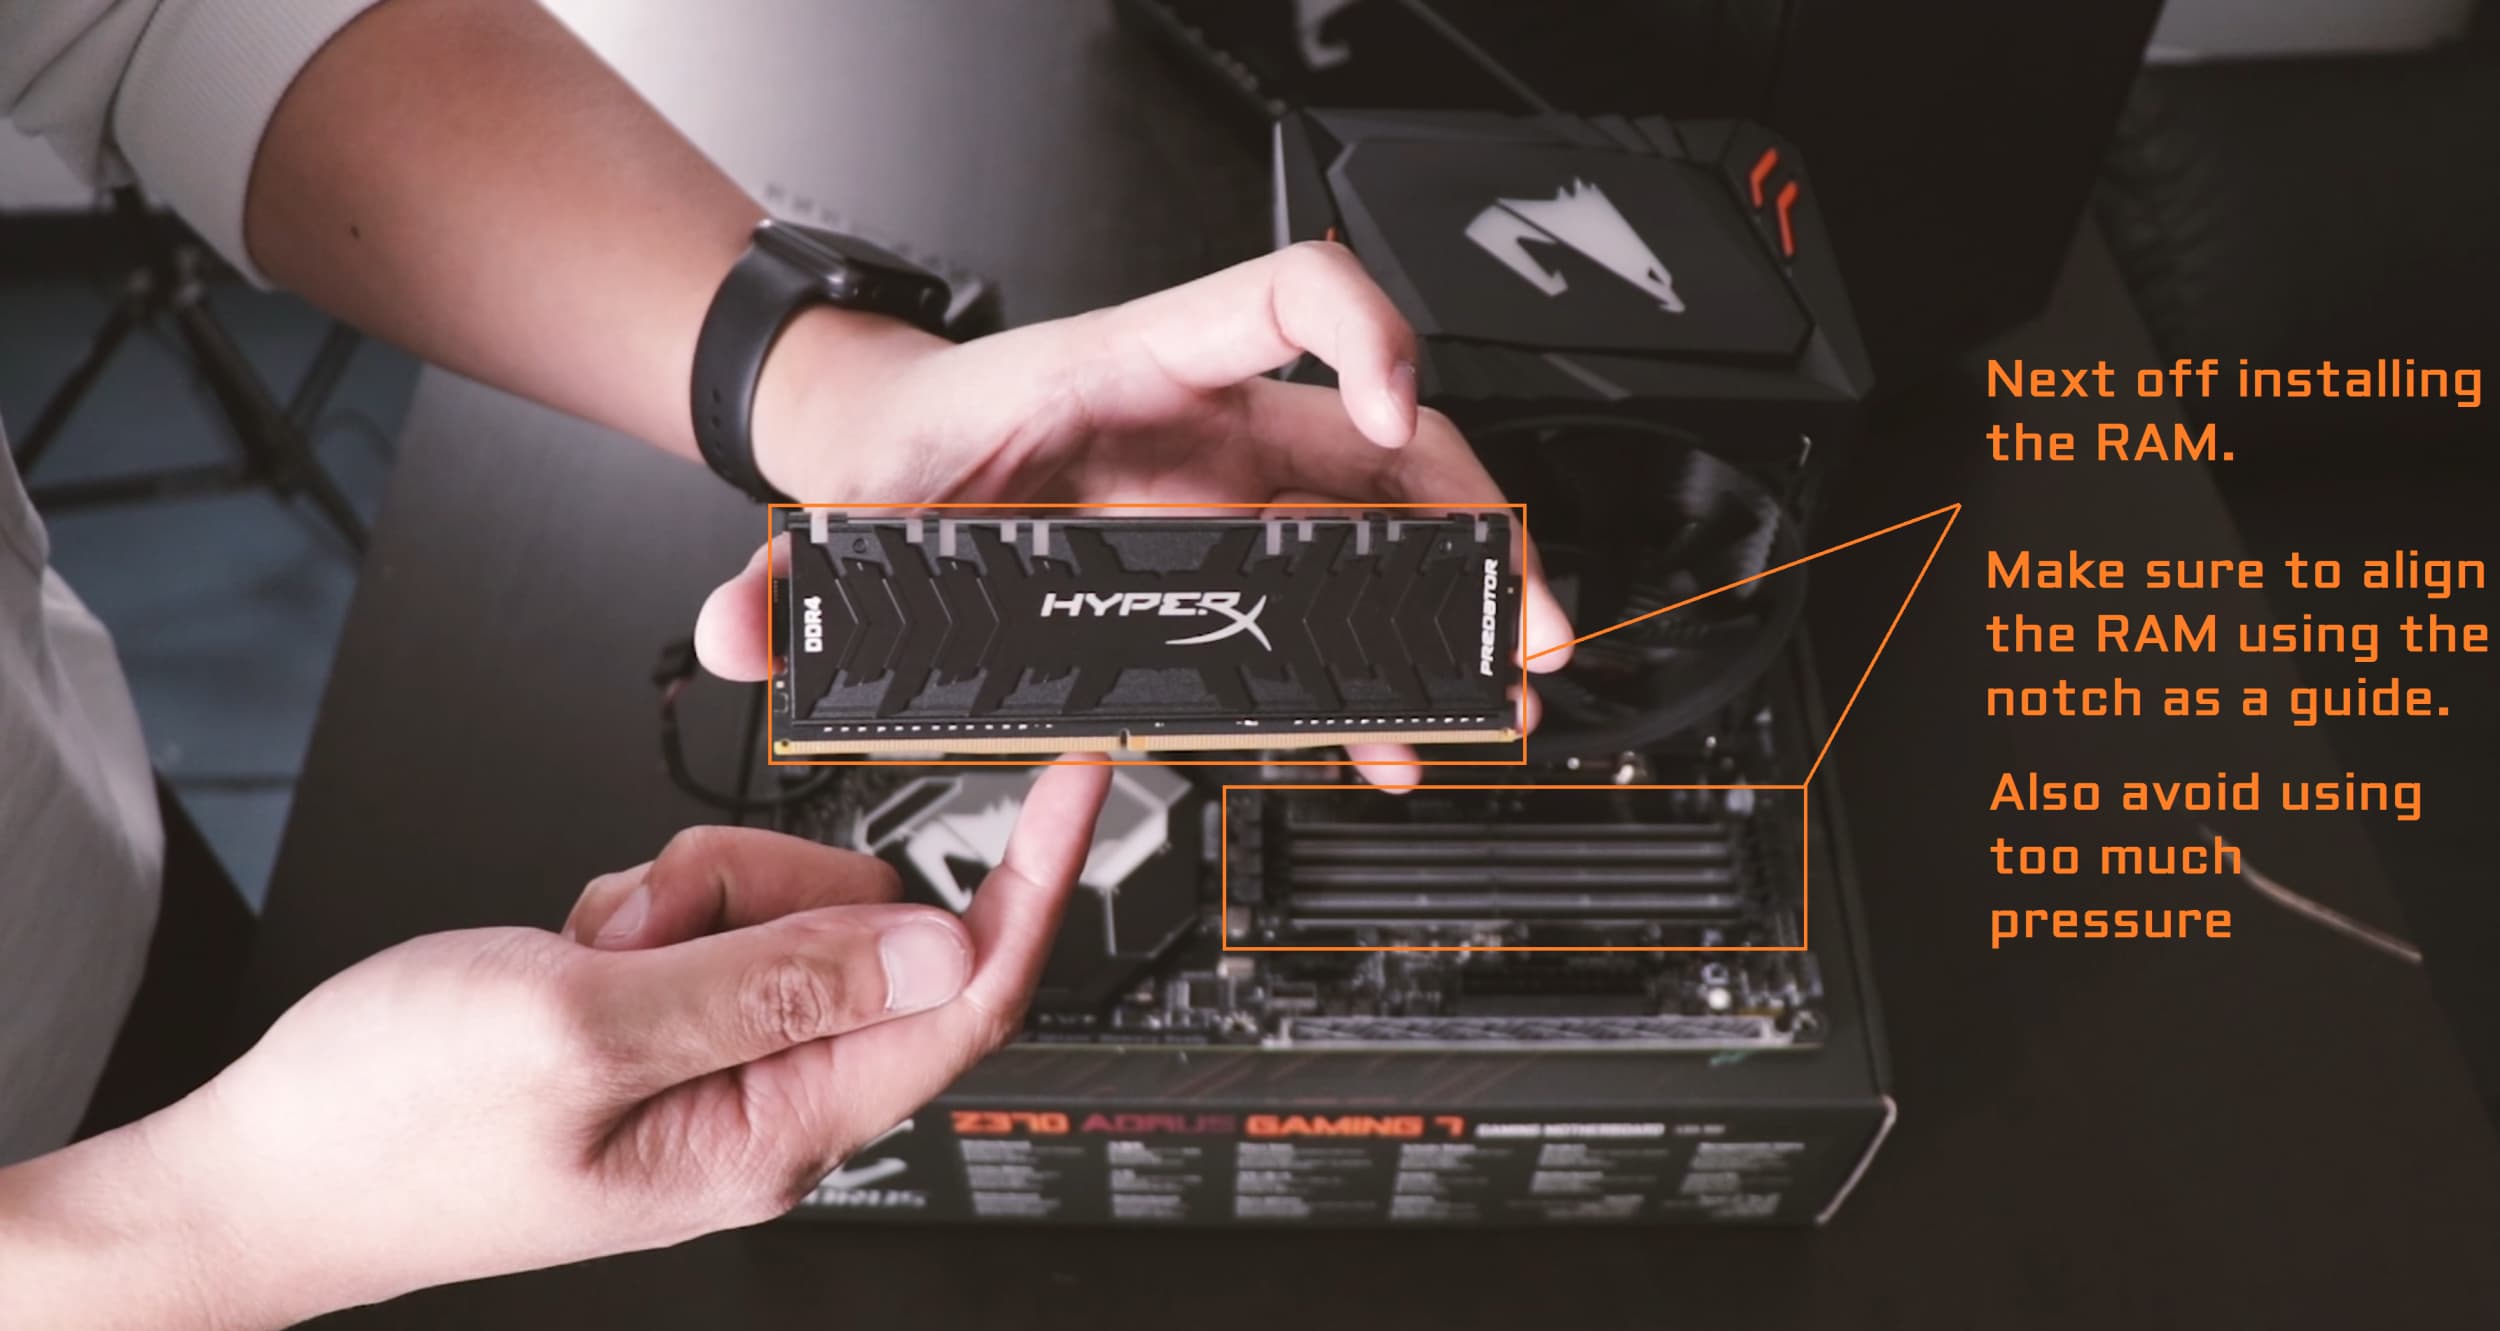
Following that we would then install the DDR4 RAM. To install the RAM we would recommend using the notch as a guide and avoid using too much pressure as to avoid damaging anything. If seated properly the RAM should click right in.
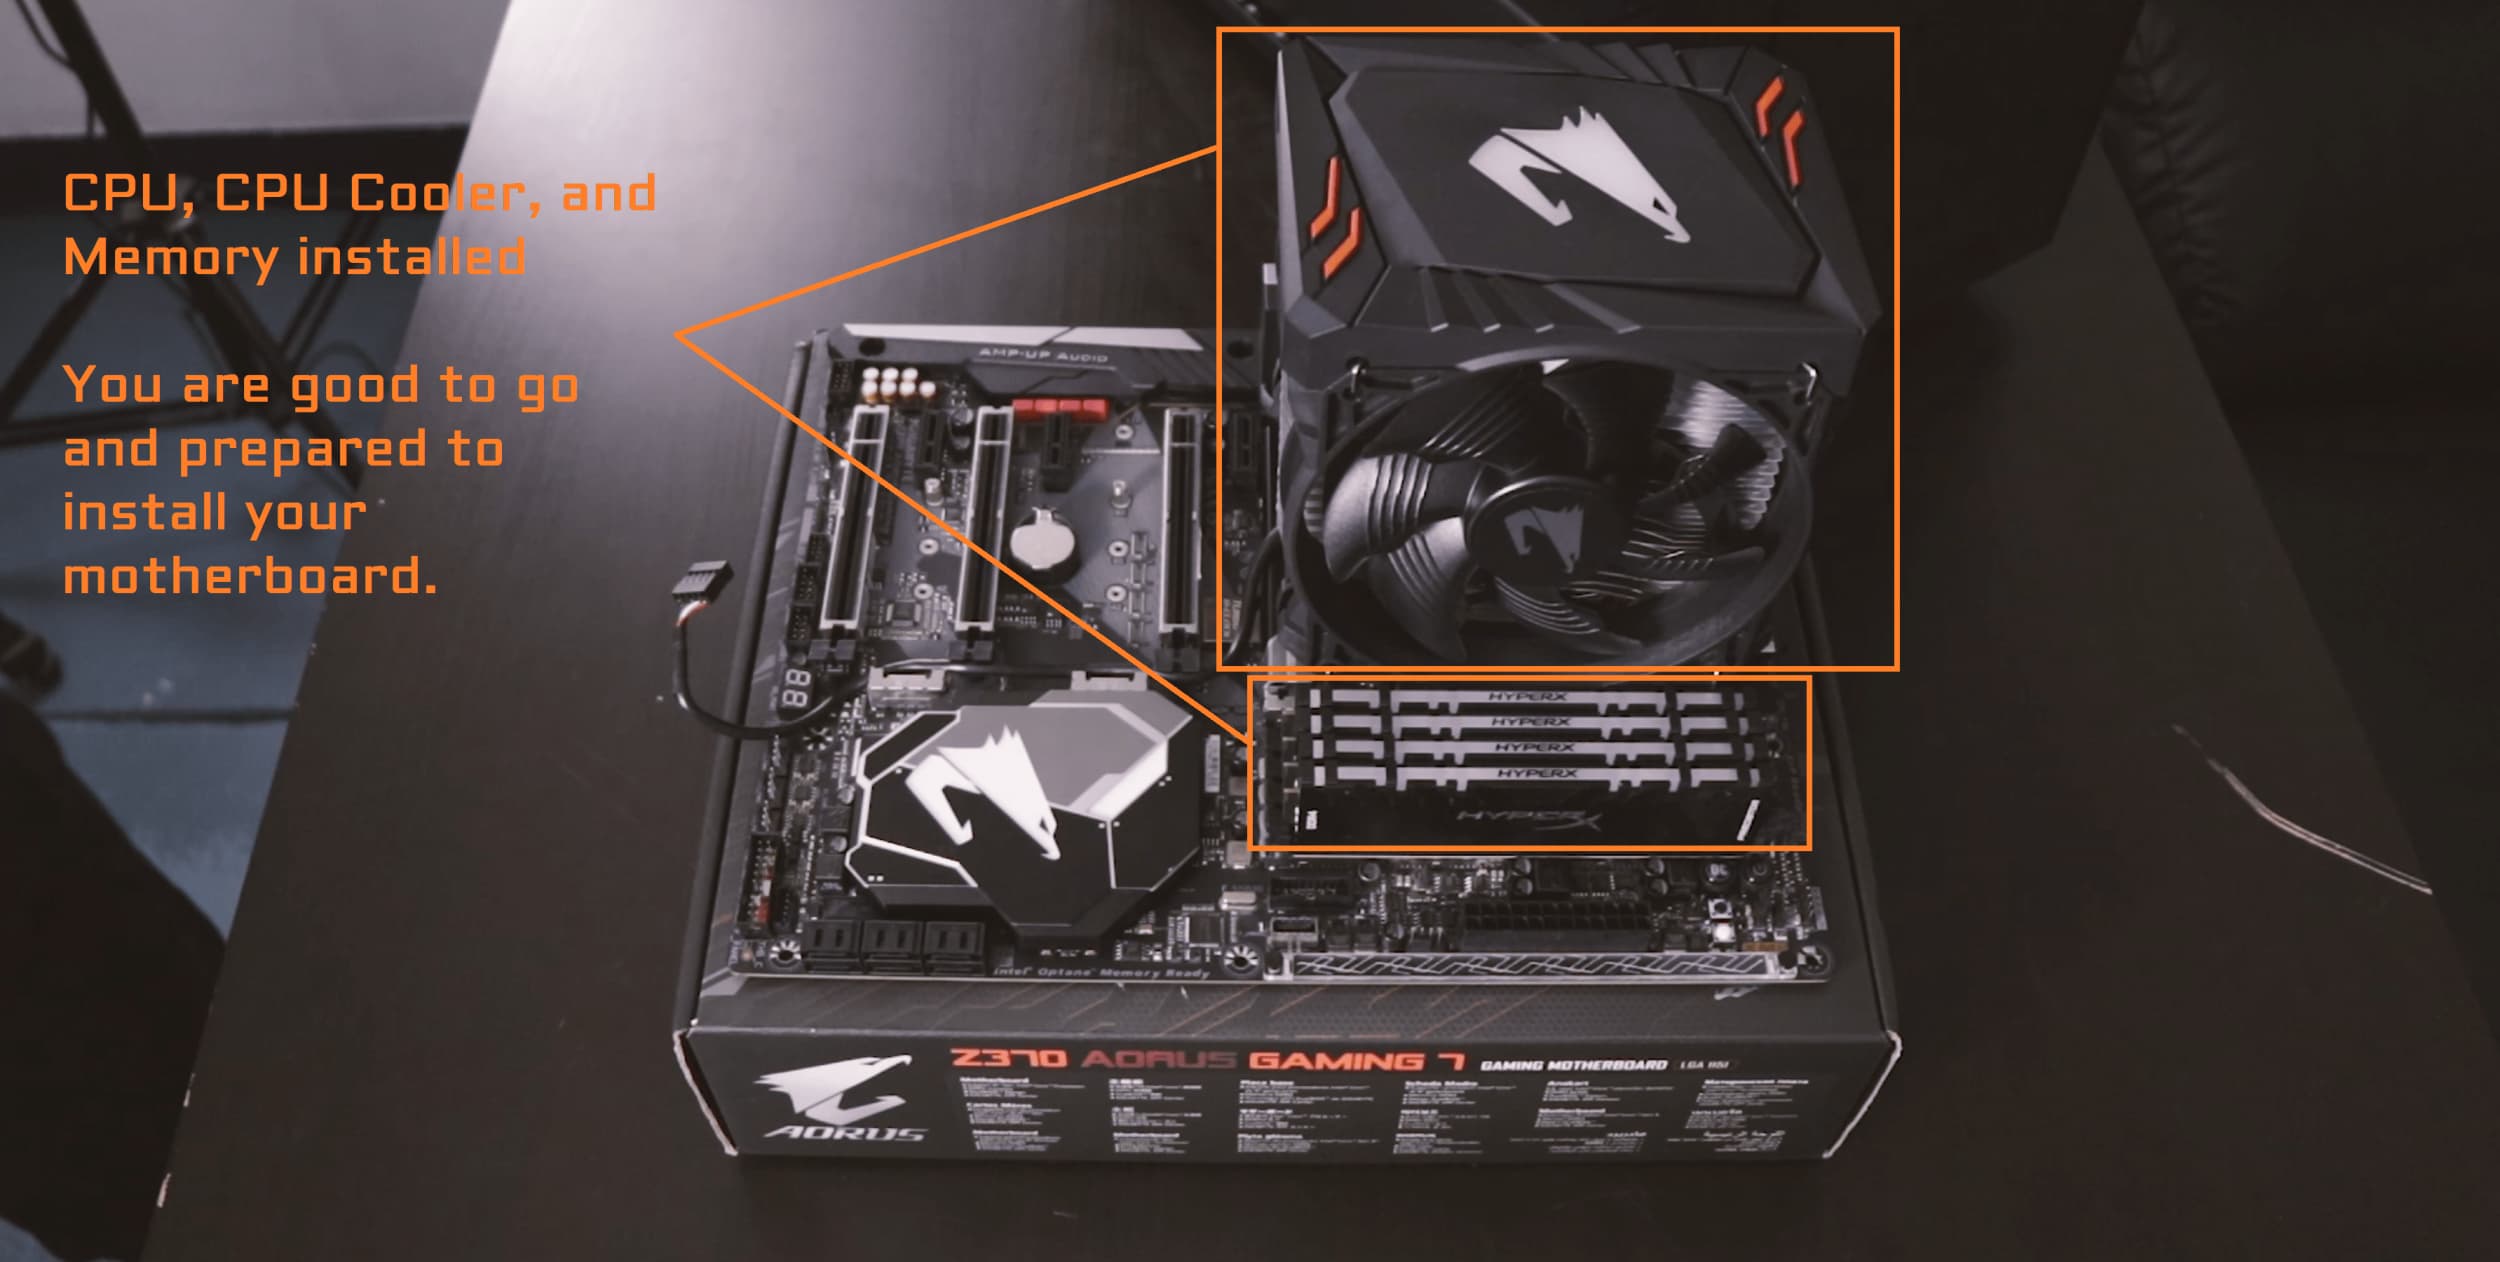
After installing your CPU, CPU Cooler, and Memory your motherboard is prepped and ready to go in your case.
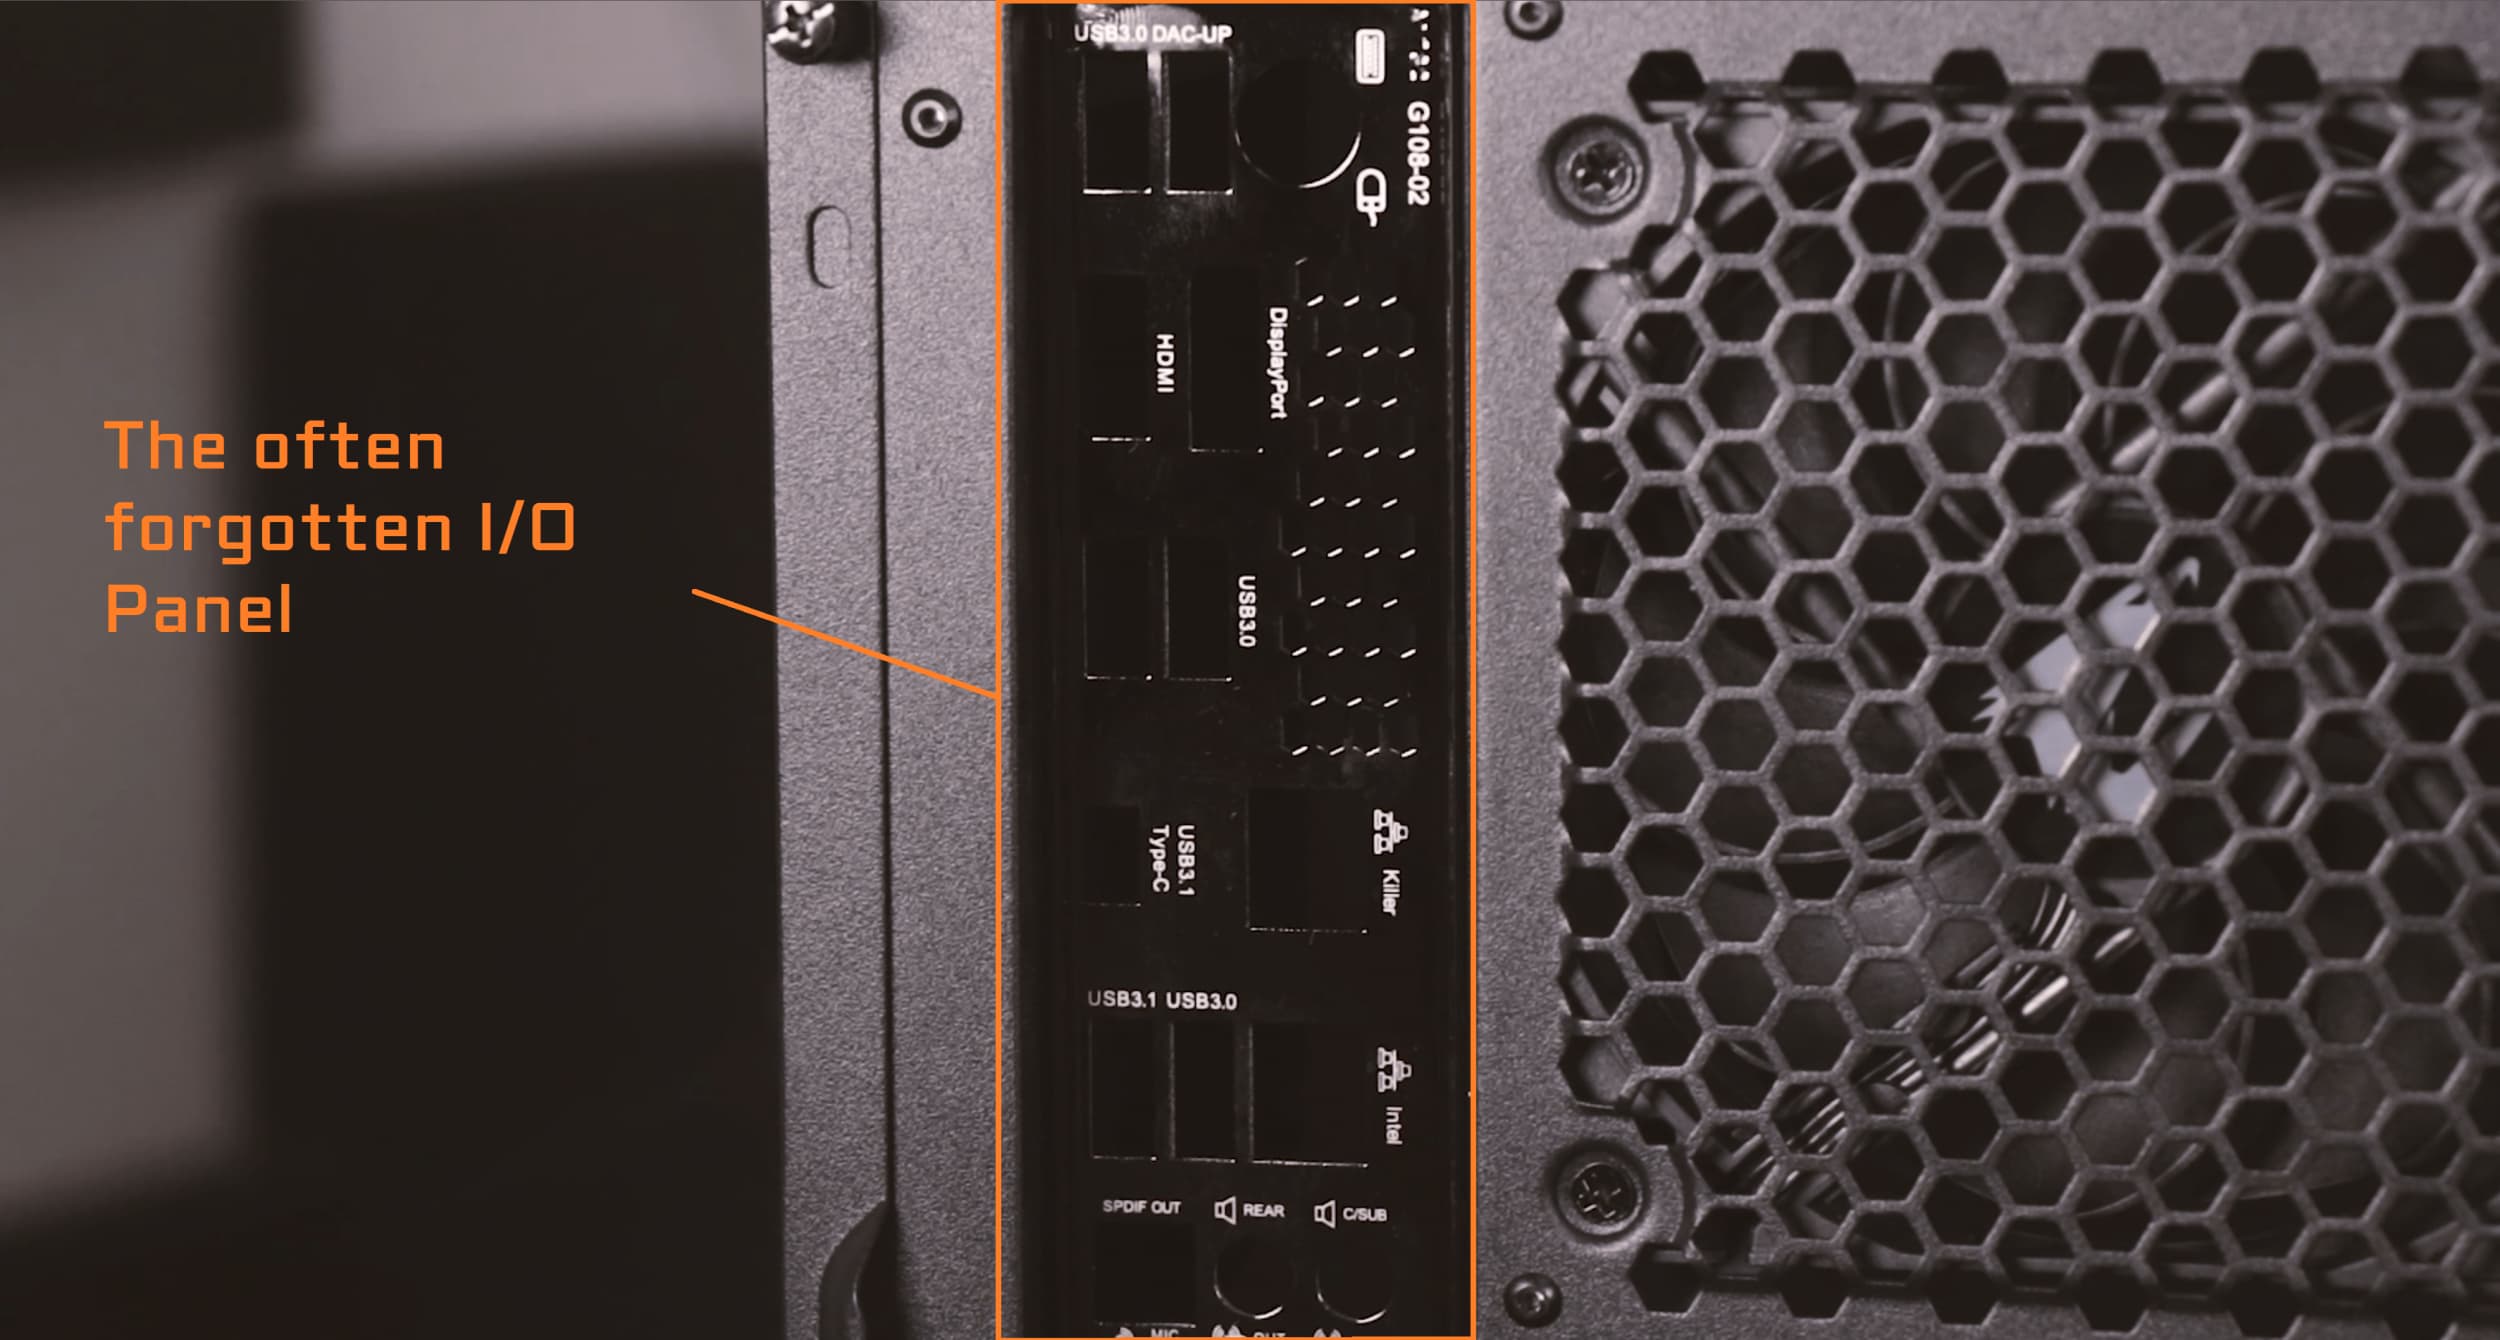
But before that install the often forgotten I/O Panel into your case.
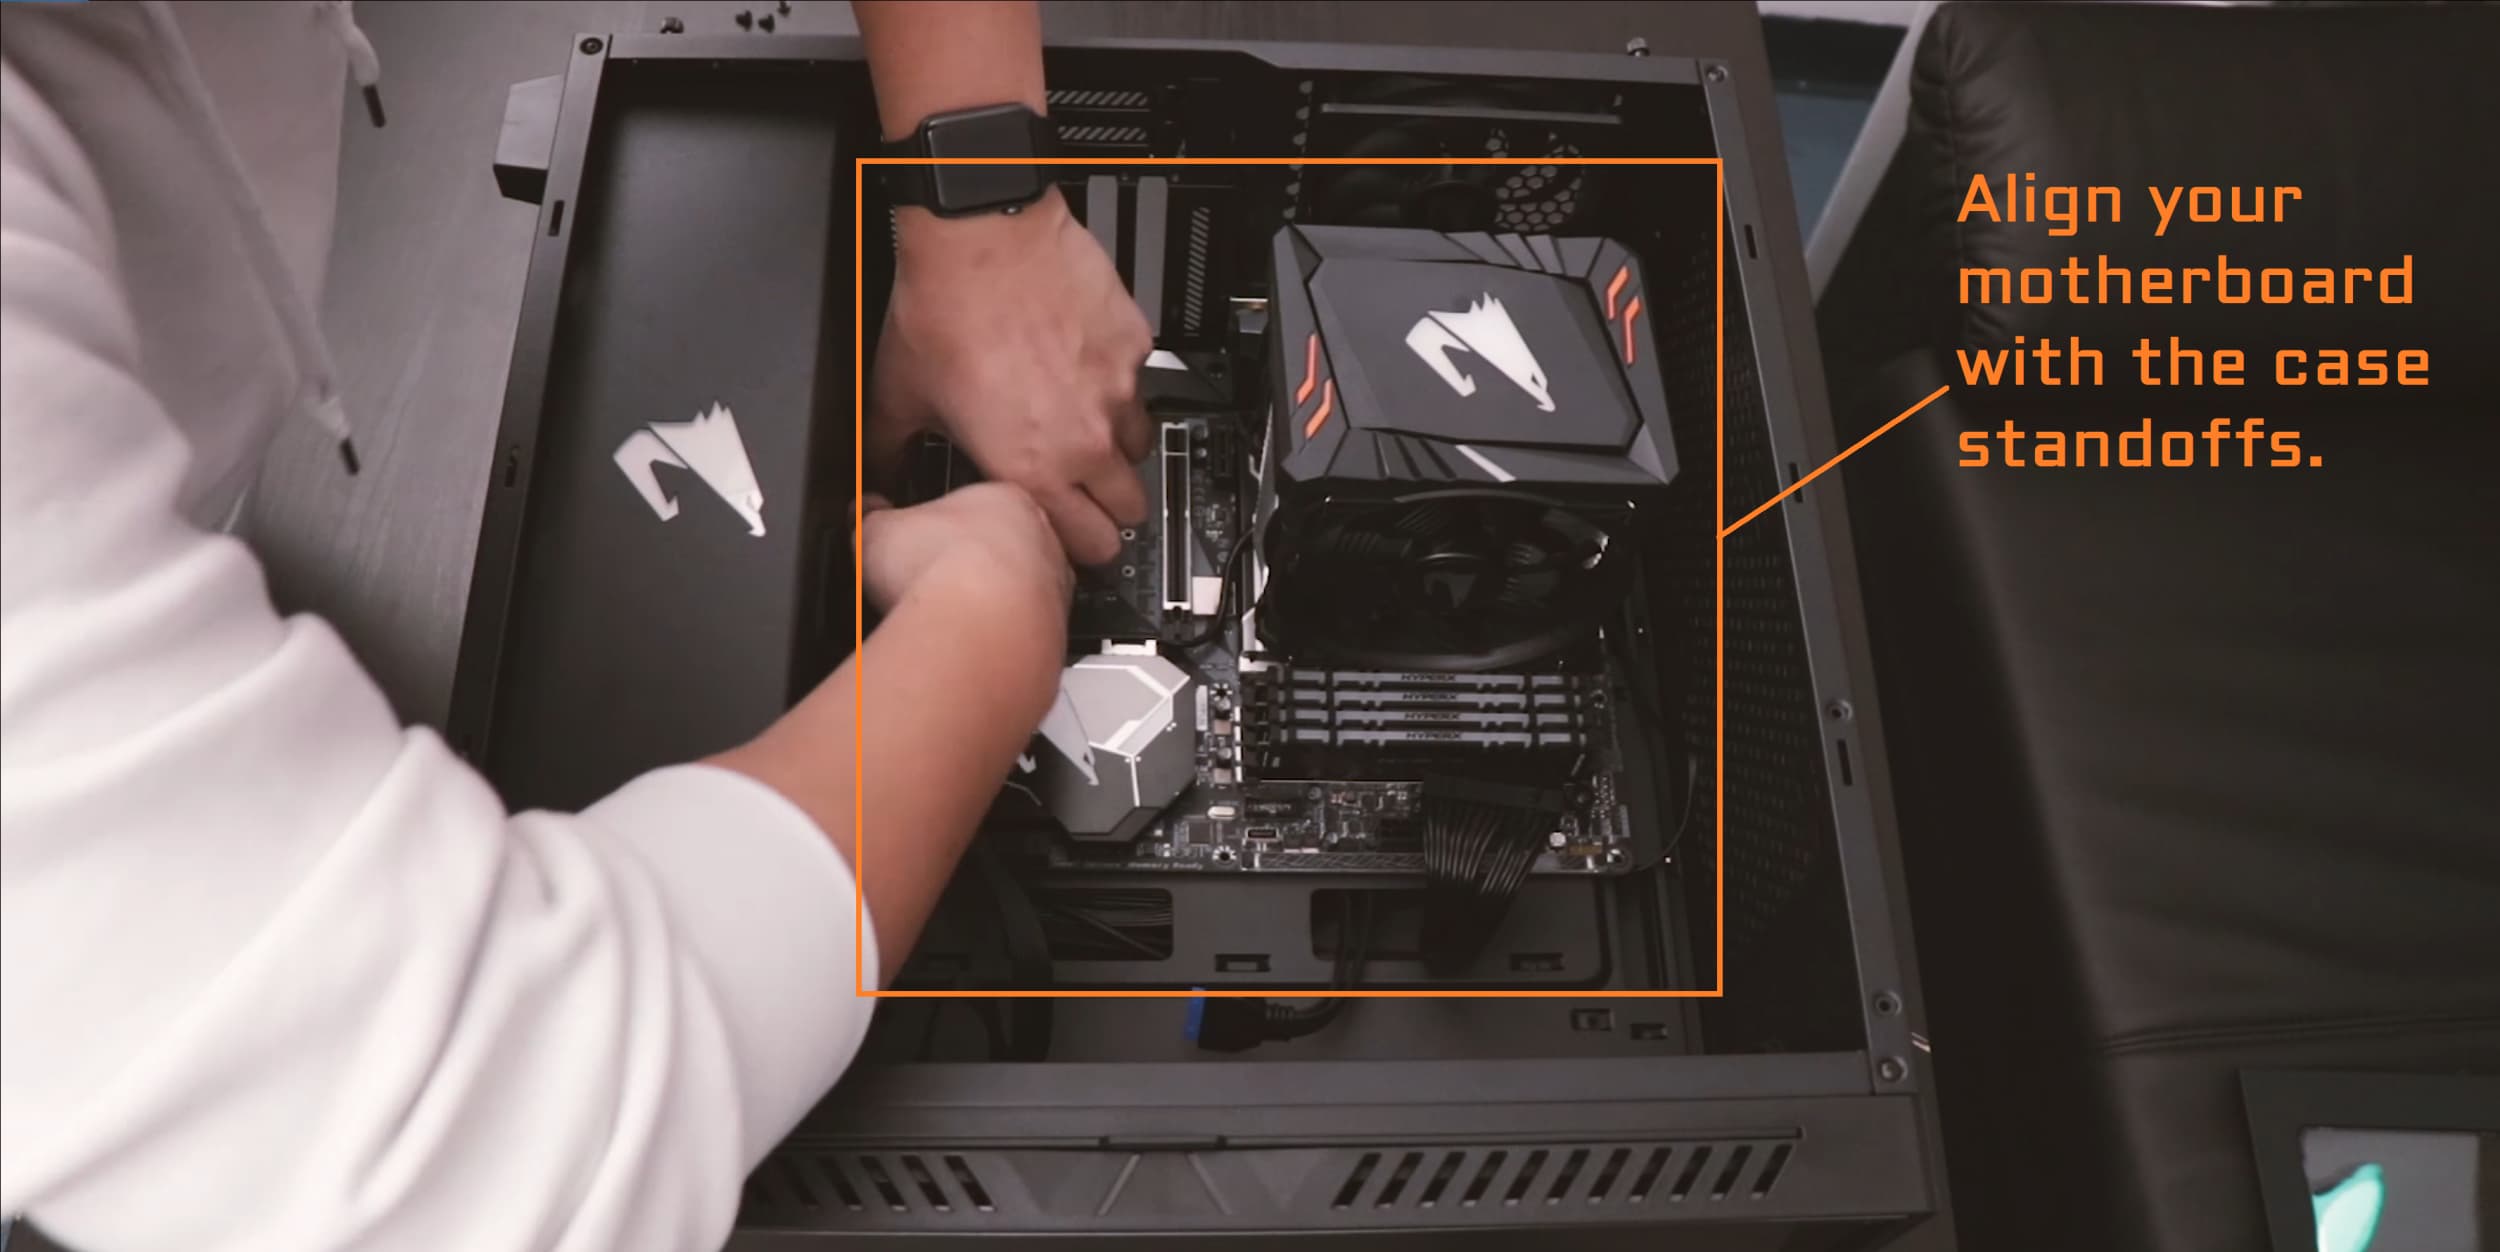
After doing so, carefully drop in your motherboard it in and align it with the case standoffs.
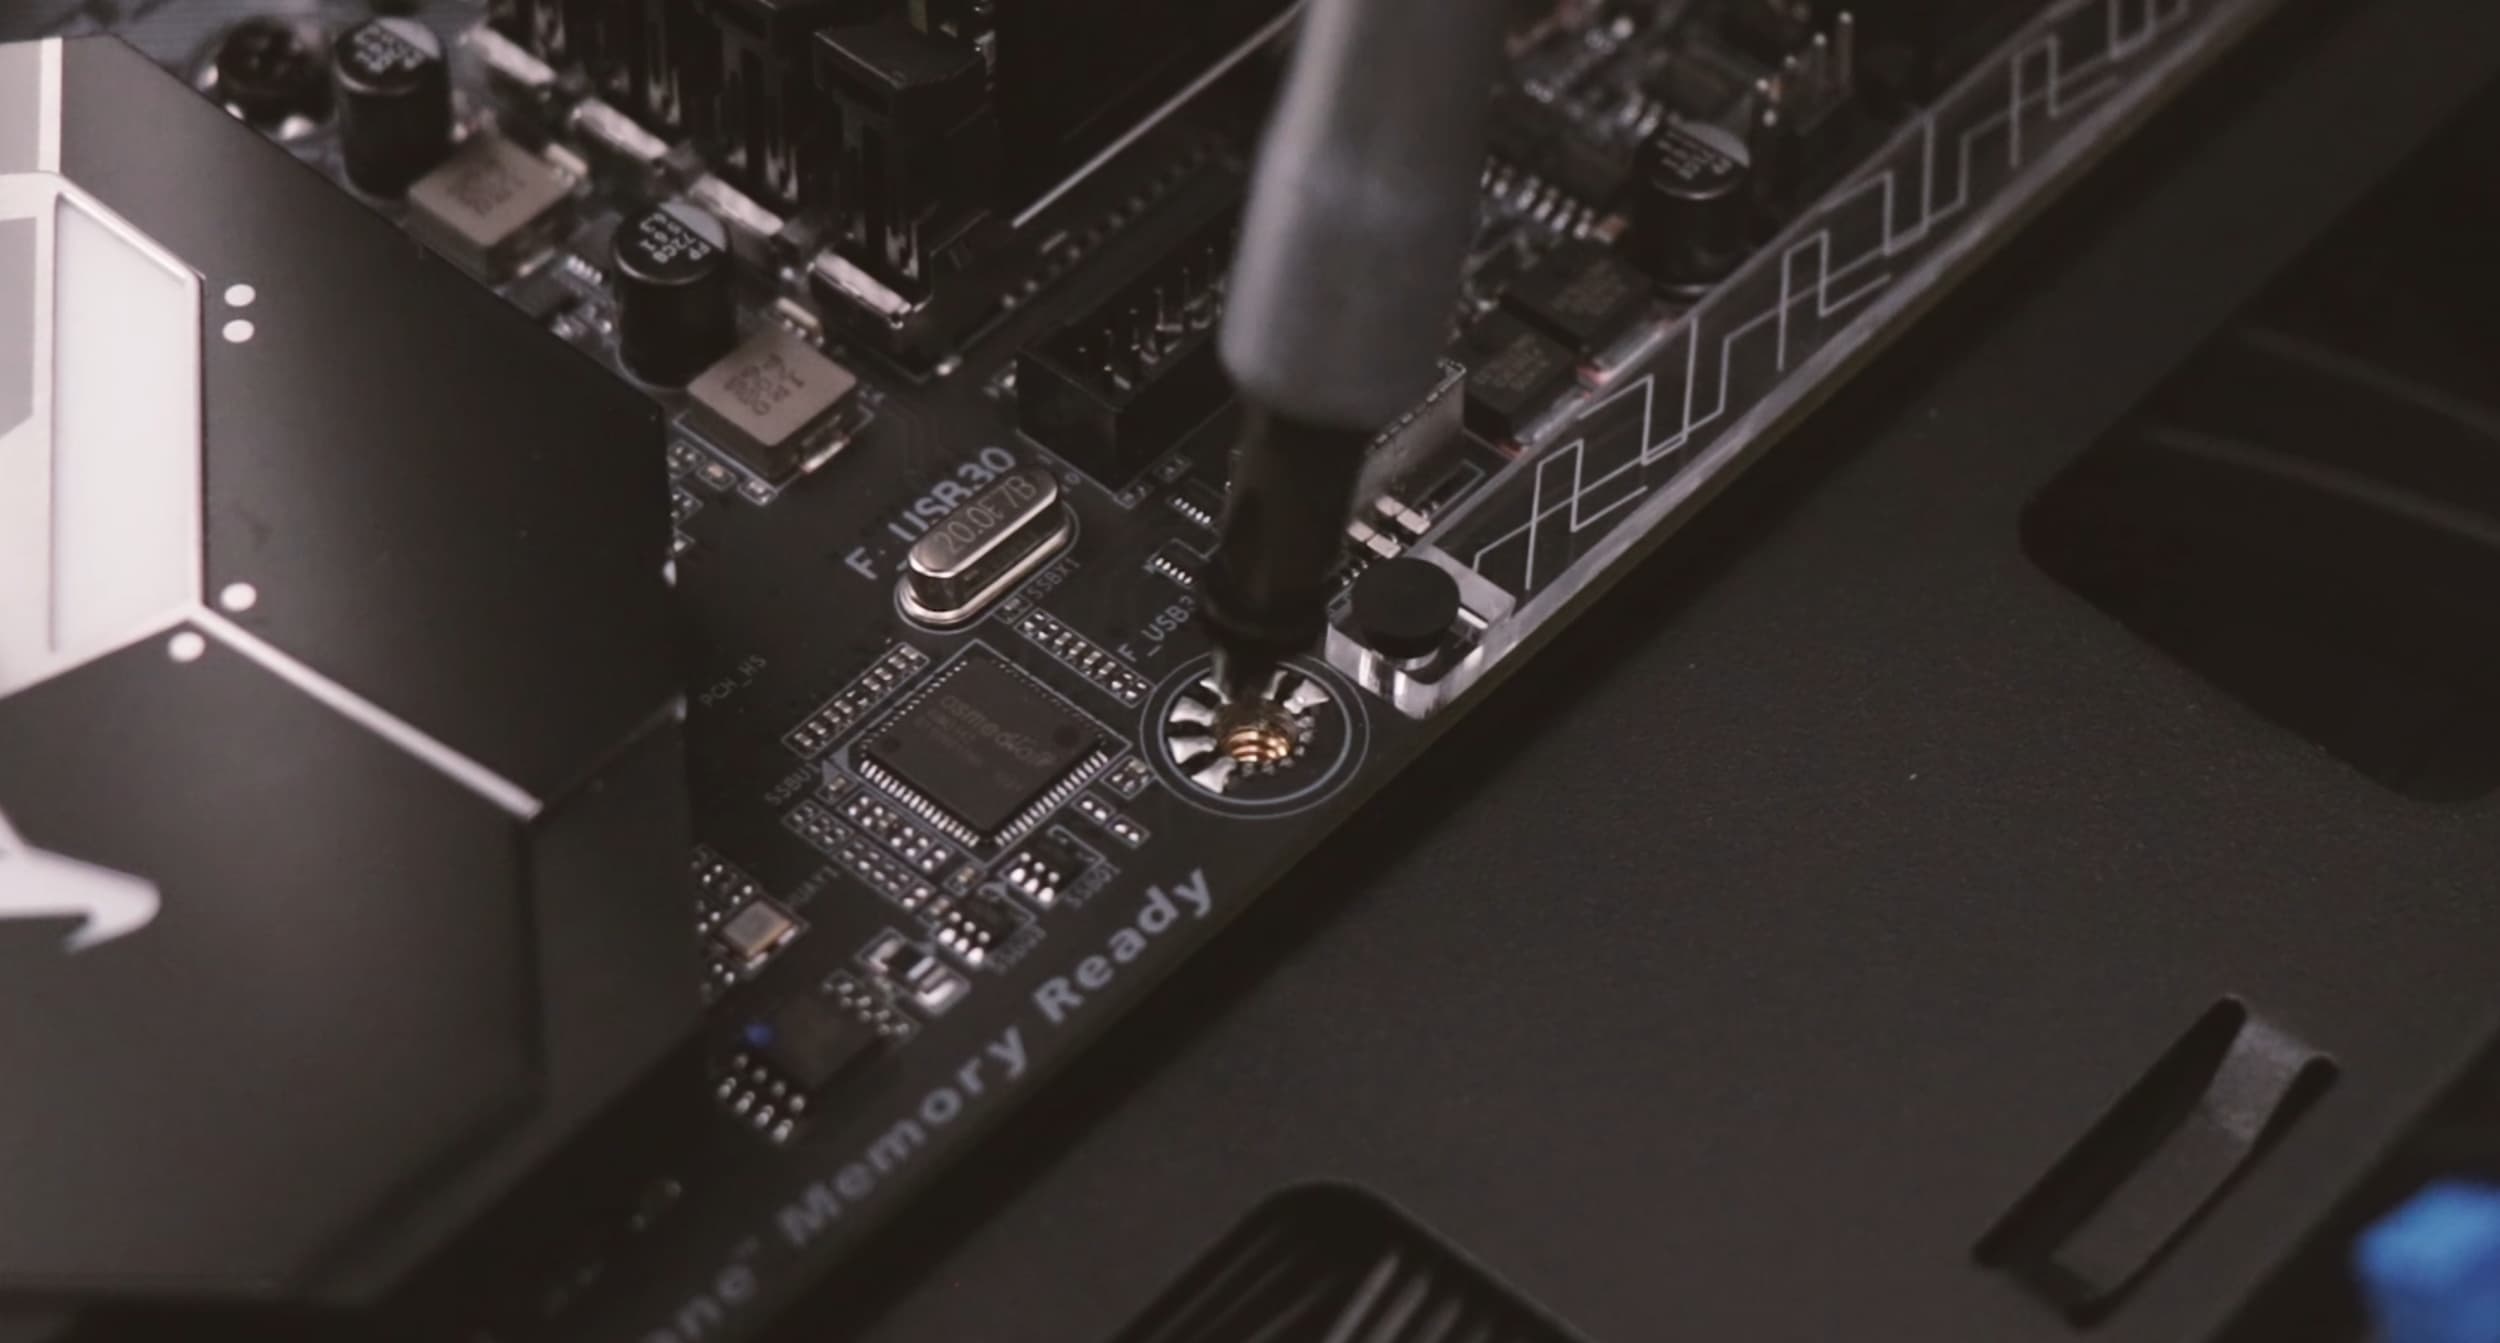
You are good to go and screw in your motherboard.
Good luck and have fun with your newly installed motherboard.
We hoped this guide helped ease the installation process for you.
Look forward to more content like this by checking out the AORUS Blog.
Be sure to follow us on Social Media!
Facebook | Twitter | Instagram